How to Configure a Client to Connect via SMPP Protocol?
12.06.2026
The platform supports SMPP protocol version 3.4 and accepts connections from clients using the same protocol. To let a client send SMS via SMPP, you need to create an SMPP account for them and add the IP addresses they will connect from.
Create an SMPP Account
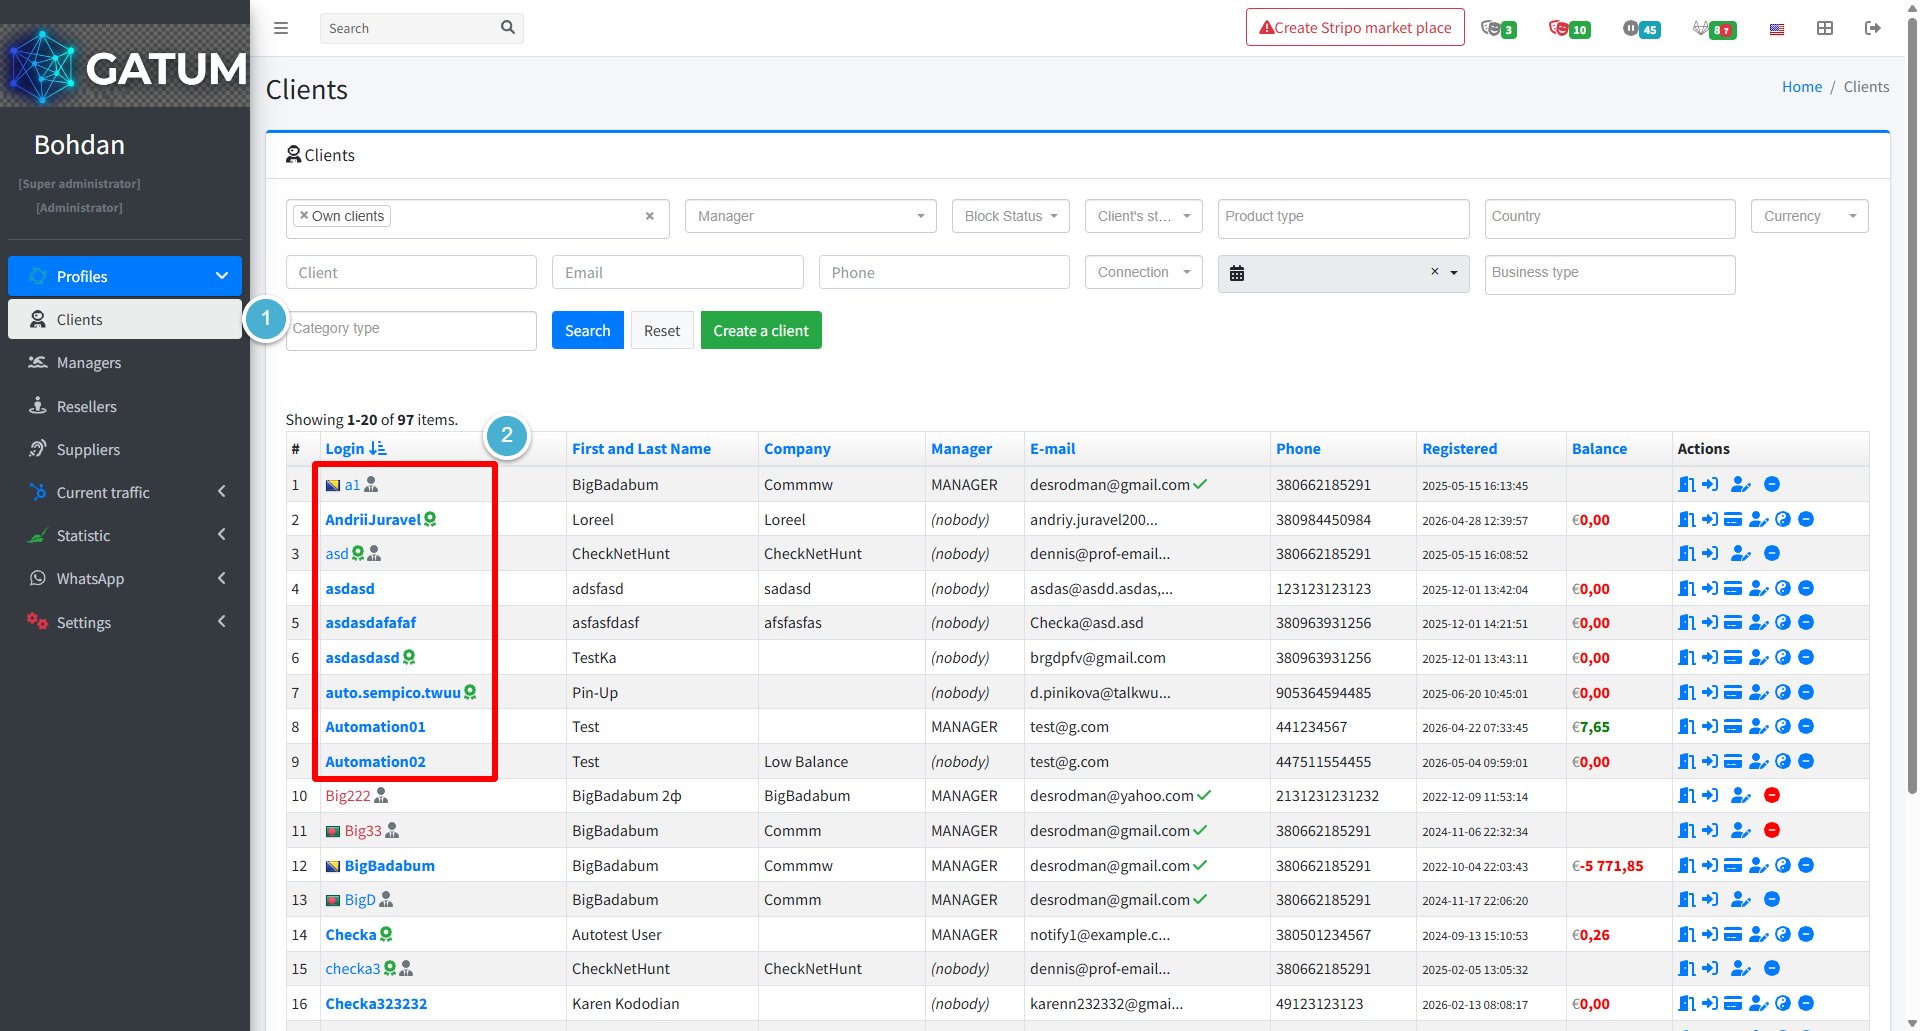
Go to Profiles → Clients.
Click on the client's name.
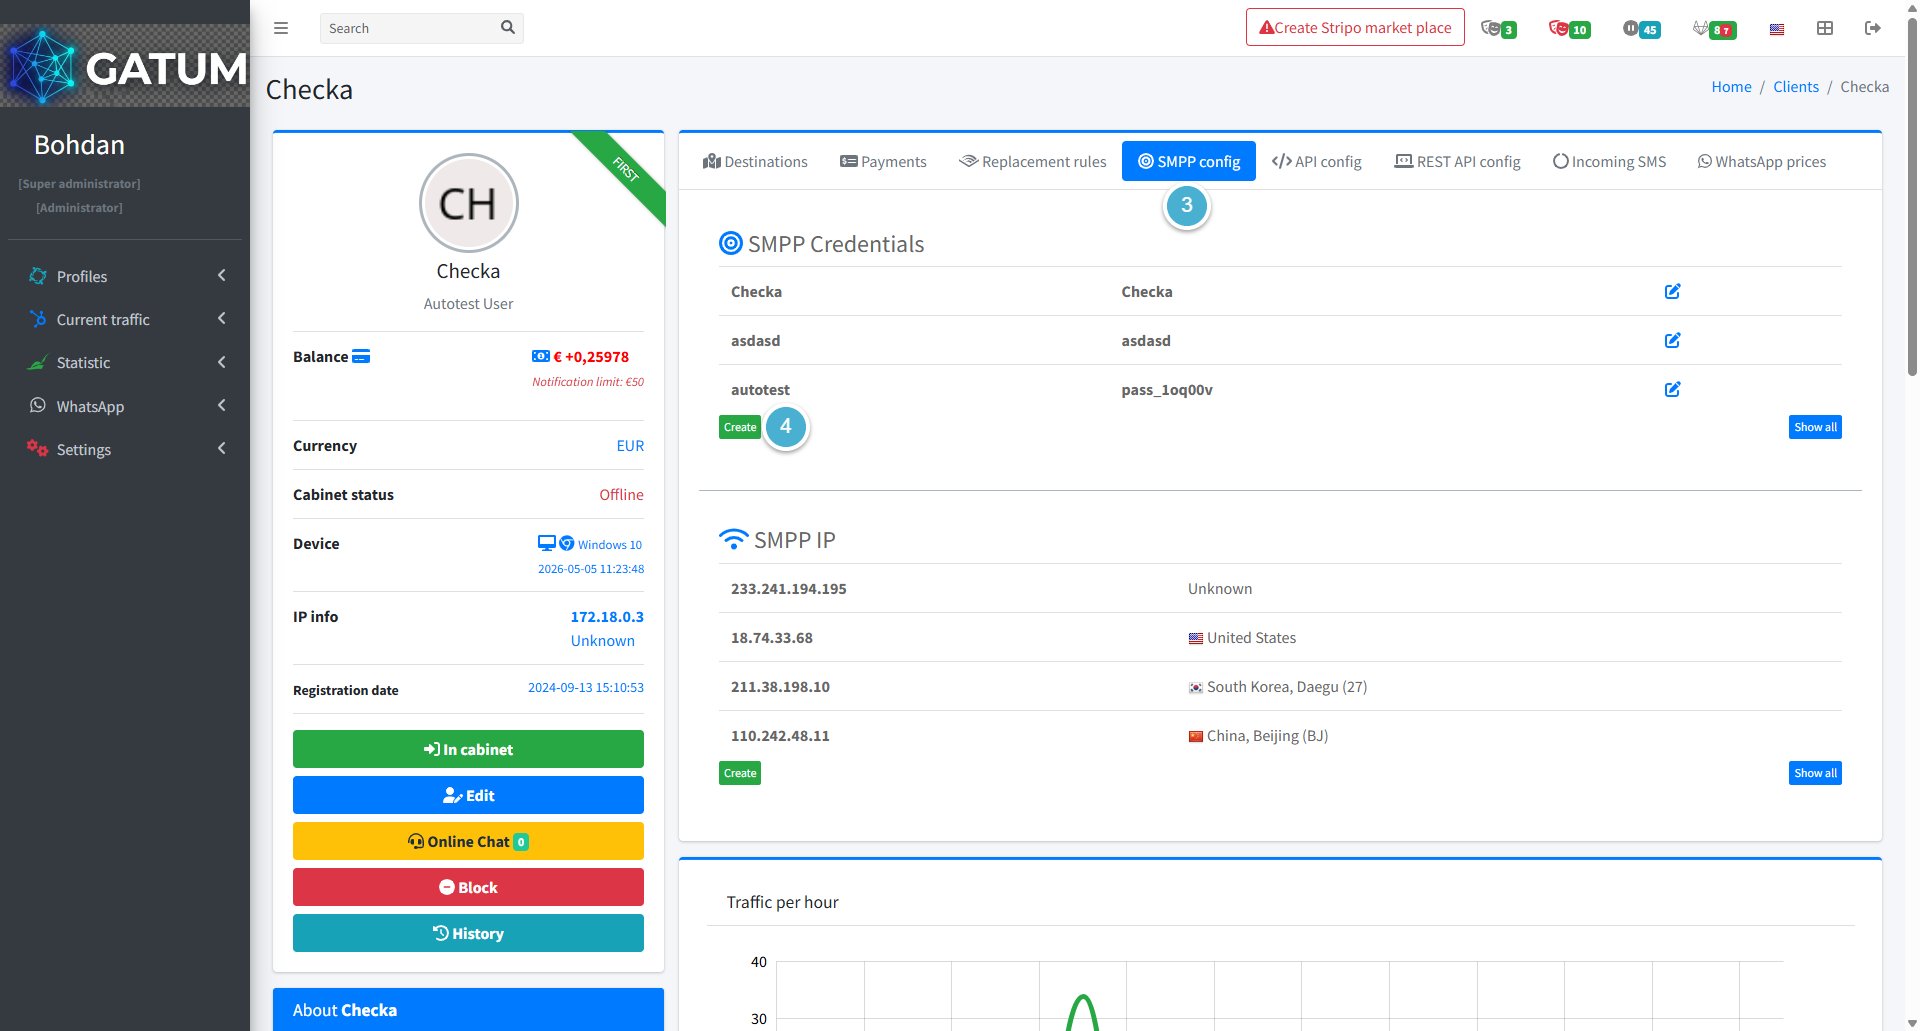
Open the SMPP config tab.
Click Create in the SMPP Credentials block.
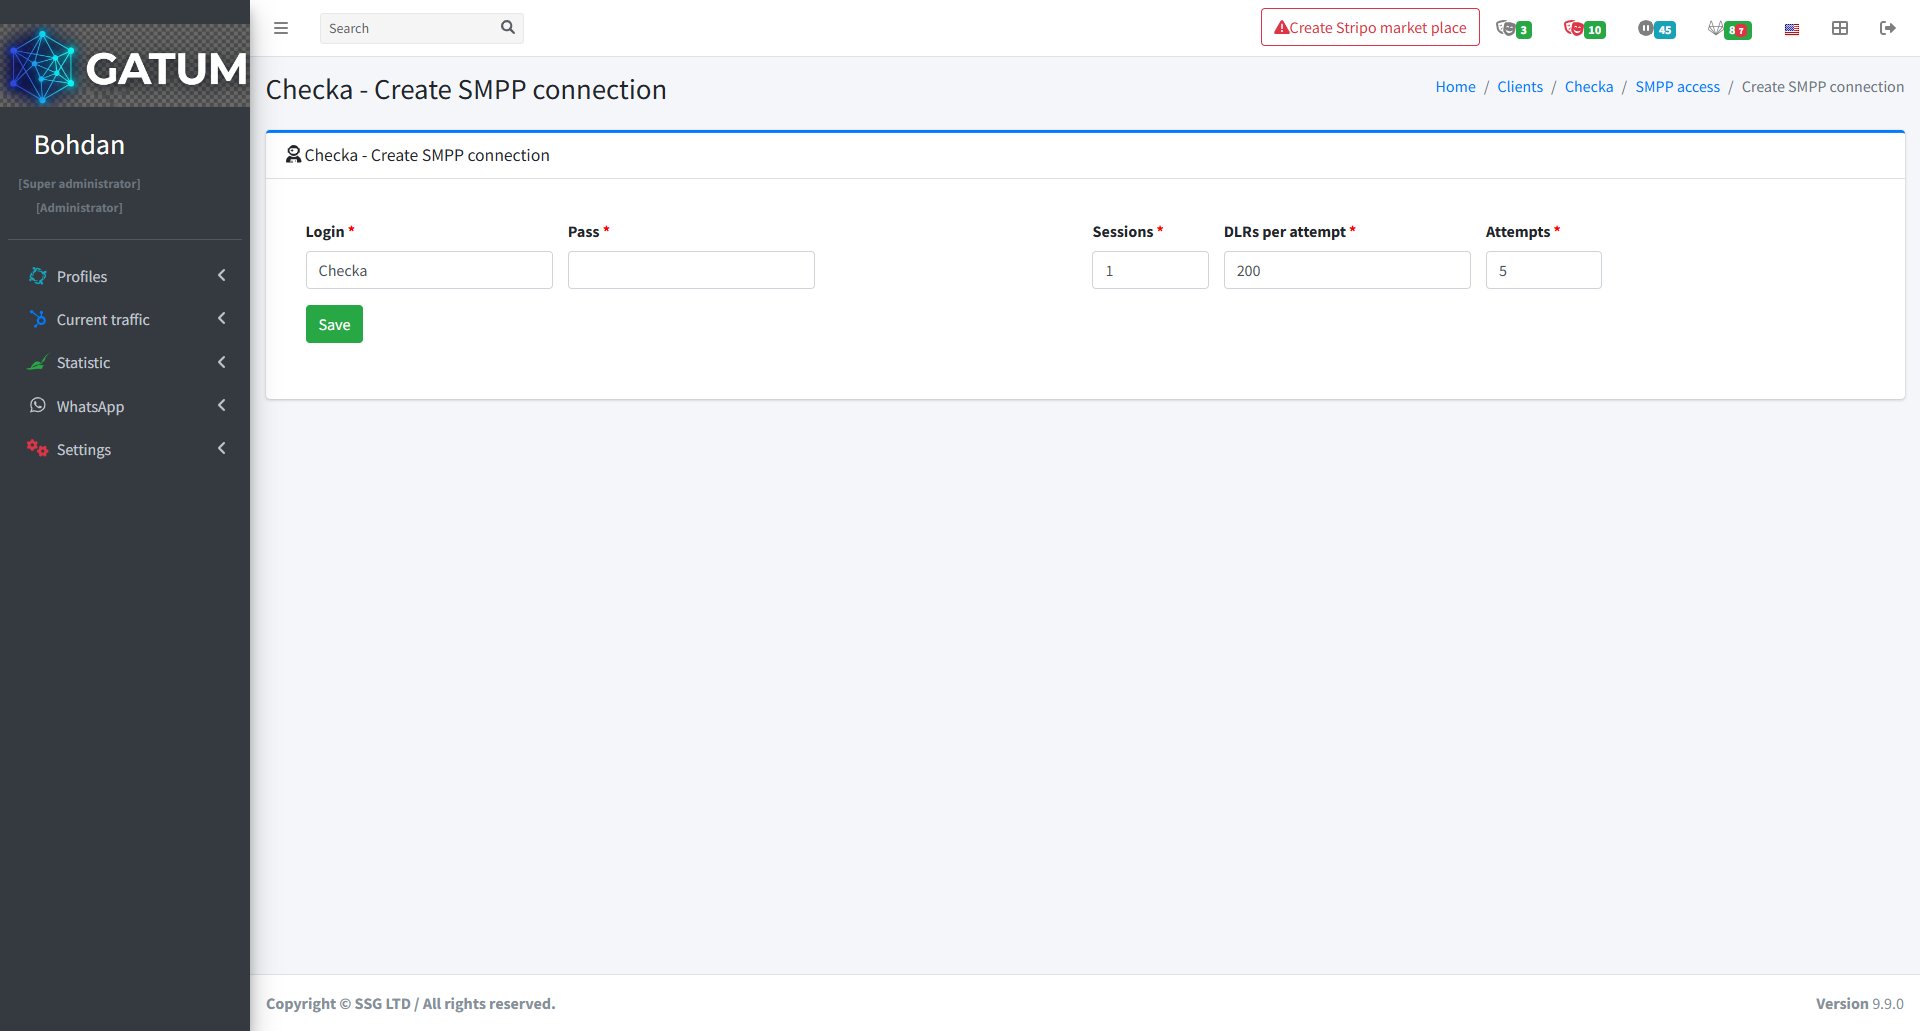
In the window that opens:
Fill in the fields:
Field
Description
Login
The login the client will use to connect. Keep it no longer than 8 characters.
Pass
The password the client will use to connect. Use exactly 8 characters.
Sessions
The number of simultaneous sessions allowed for this connection.
DLRs per attempt
The number of delivery reports sent per attempt.
Attempts
The number of delivery report delivery attempts.
Click Save.
ⓘ
If the client connects from multiple servers, create a separate SMPP account for each server and add the corresponding IP addresses. This prevents delivery reports from being lost when SMS comes from one server but the DLR is sent to another.
The new account will appear in the SMPP Credentials list. The client can now use the login and password to connect to the platform via SMPP.
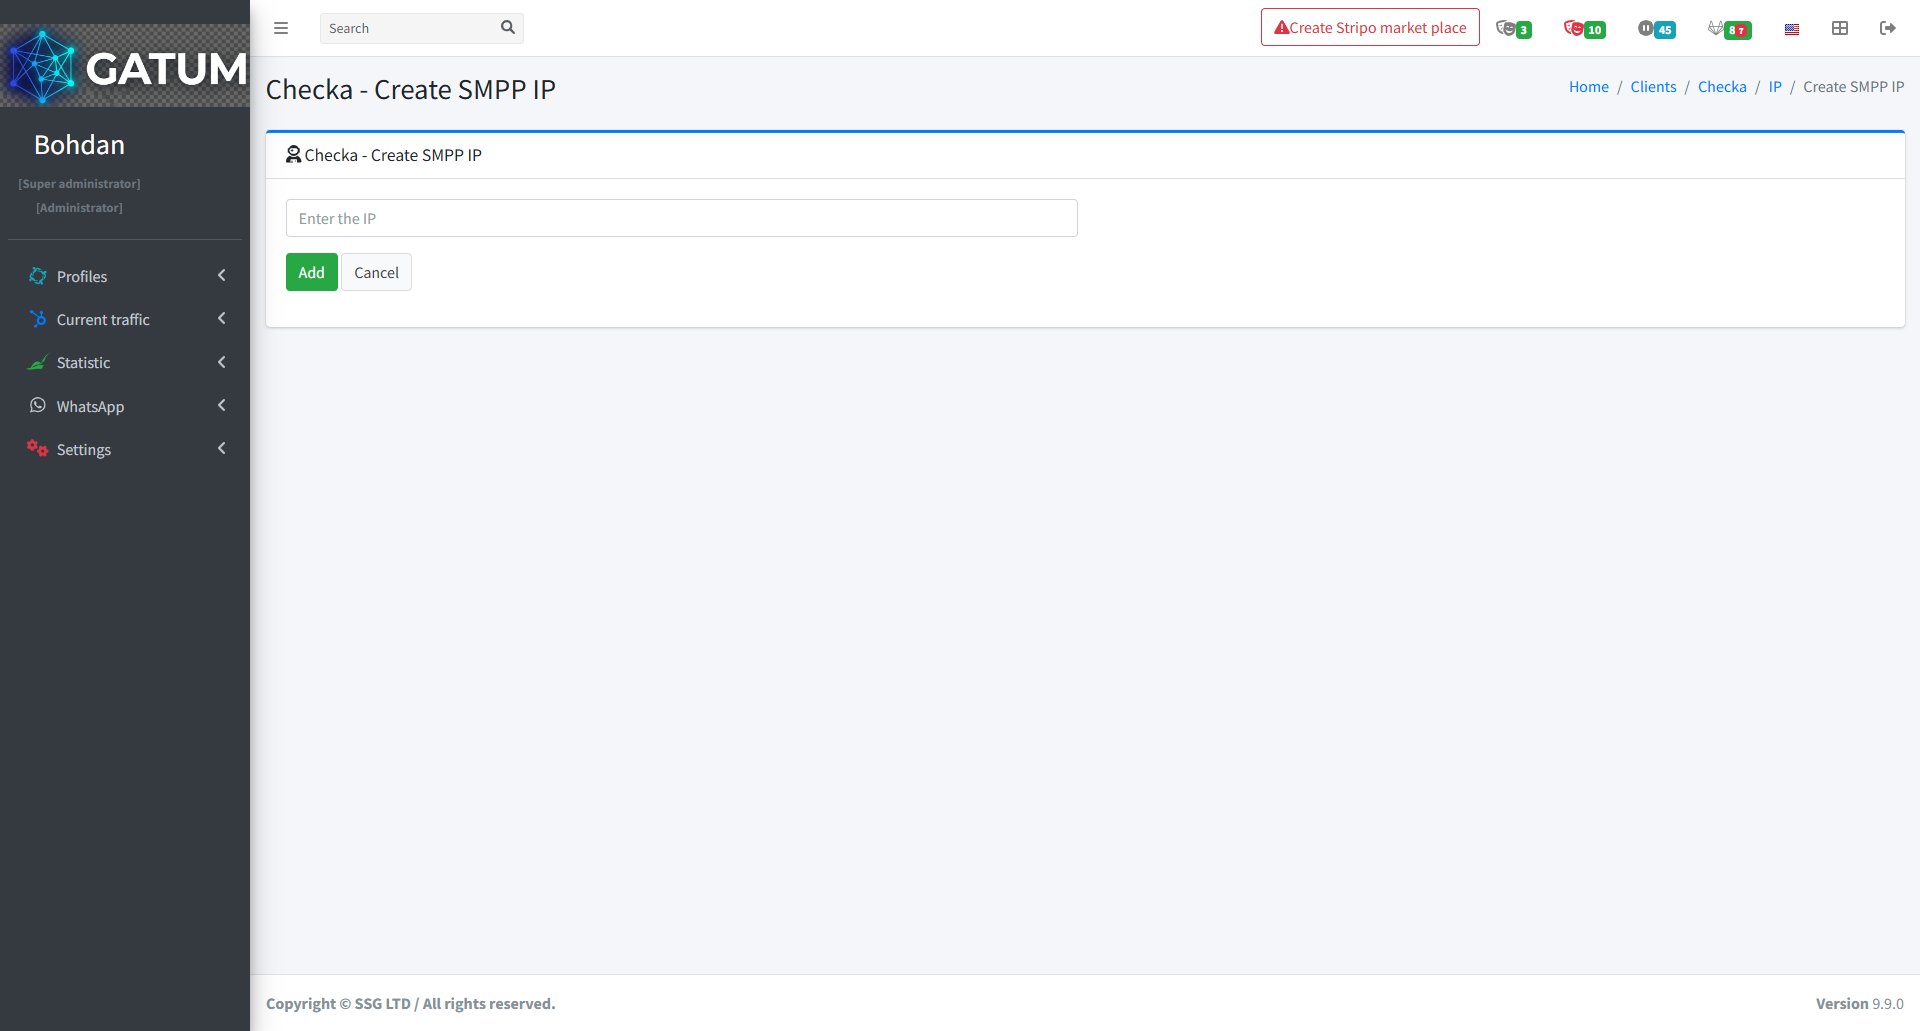
Add an SMPP IP Address
Go to Profiles → Clients.
Click on the client's name.
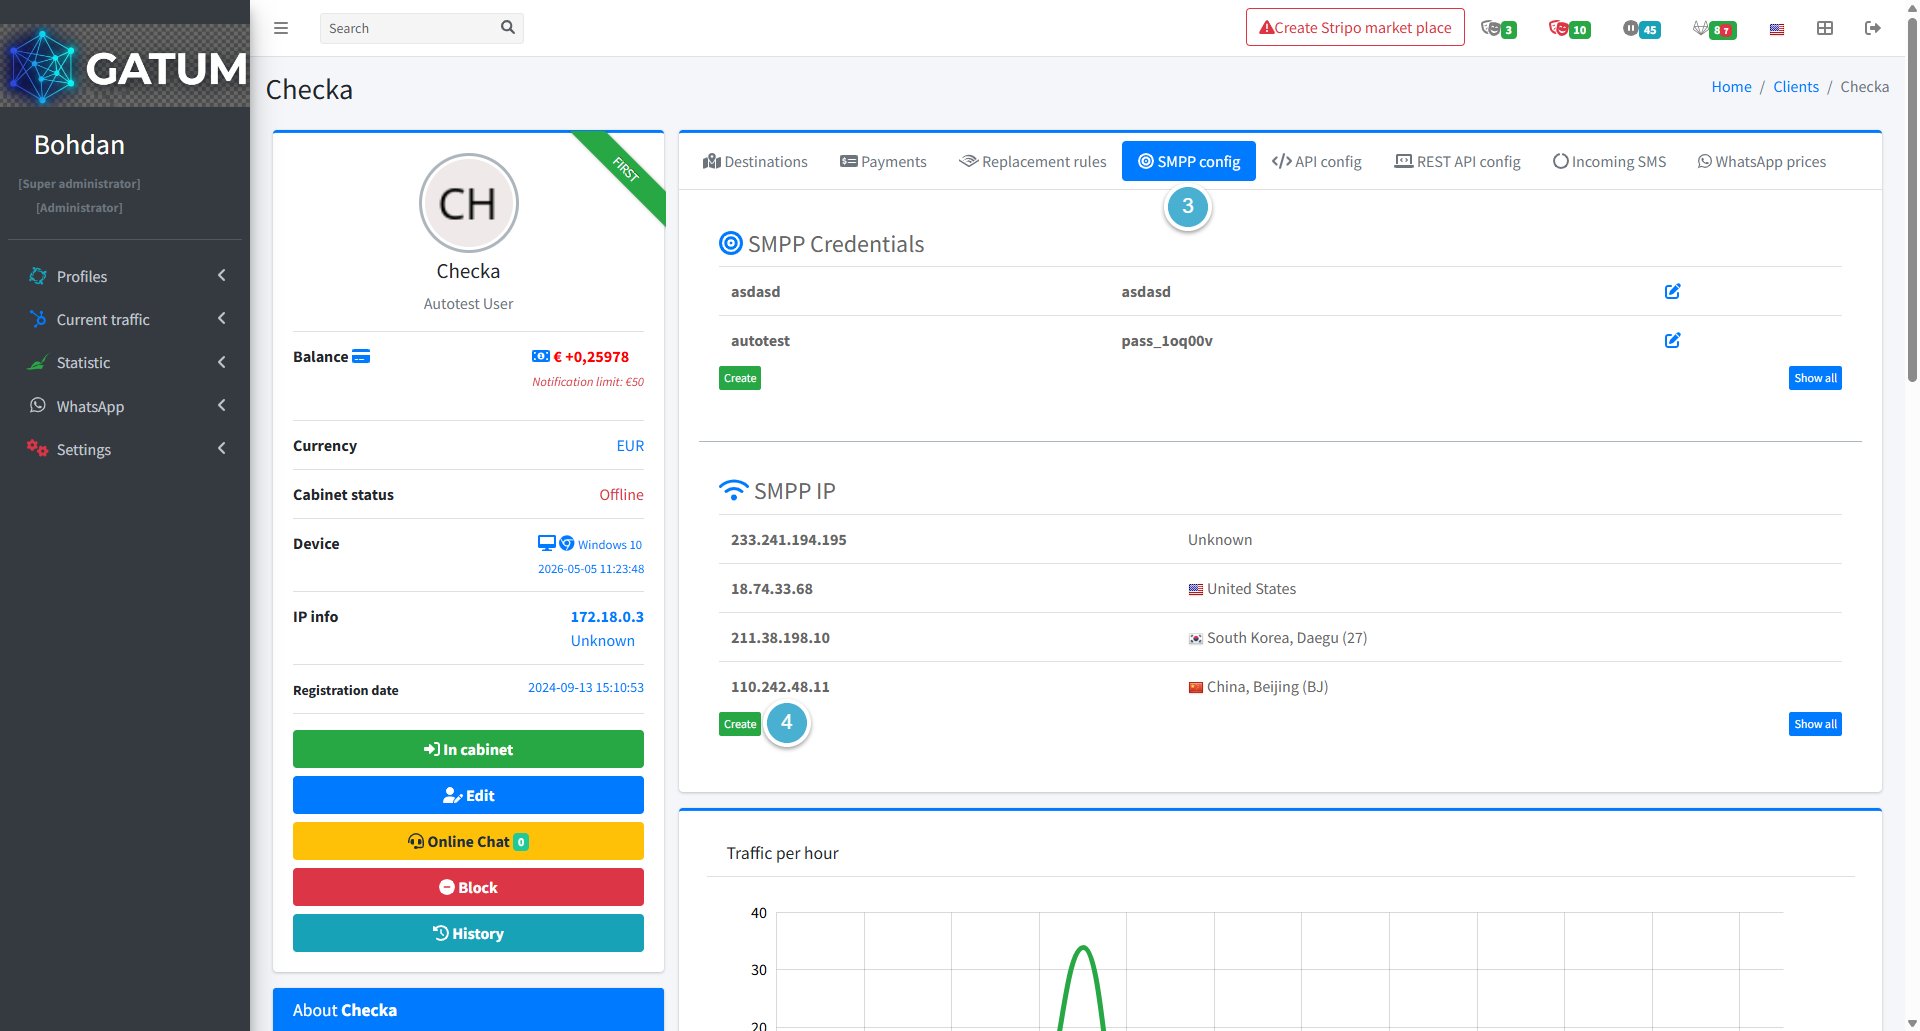
Open the SMPP config tab.
Click Create in the SMPP IP block.
In the window that opens:
Enter the IP address of the server the client will connect from and click Save.
Once the IP is added, the client's server will be allowed to establish an SMPP connection. If the client sends traffic from multiple servers, repeat this process for each IP address.
When a message is held for review instead of being sent immediately, it means it was caught by one of the platform's moderation mechanisms. Understanding why this happens helps you manage traffic more effectively and configure moderation to match your workflow.
Reason 1:...
Why do SIDs get moderated, and how to set it up?
Sender ID moderation lets you control which sender names your clients can use. When it's enabled, a client can't send SMS with a new sender until you approve it. This helps you keep traffic clean and avoid unexpected sender names going out.
Go...
Why Do SMS Get Into the Waiting List?
When there is not enough balance to send all messages in a campaign, the platform automatically moves the unsent SMS to the Waiting SMS queue instead of dropping them. Once you top up your balance, you can resend them manually.
For example, if...
Cookie declaration last updated on 01/01/2025
This website uses cookies
We use cookies to enhance your browsing experience, provide social media features, and analyze our traffic.
You consent to our cookies if you continue to use our website.