The GATUM platform is designed in such a way that you can manage your work as efficiently as possible. Therefore, on the platform, you can schedule sending SMS from the client’s panel for a specific time or its period. All scheduled SMS go to the Scheduled SMS tab in the client’s web panel, where they expect to be sent.
In order to schedule the sending of SMS, you need:
- Go to the Message -> Compose page in the client panel.
- Fill in all the required fields as written in the article “How to create and send SMS from the client panel?”. Pay special attention to the fields:
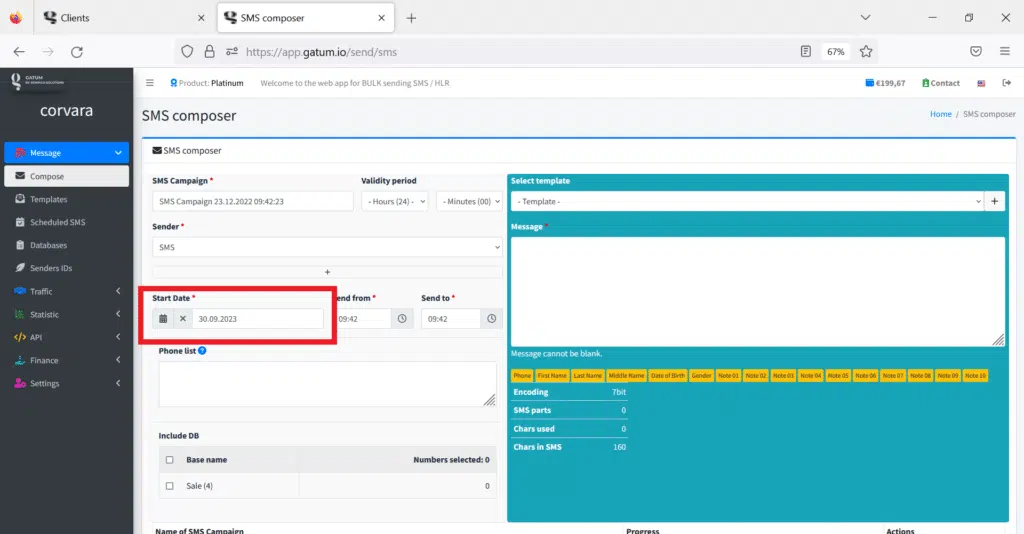
Field Start date – set the date when these SMS should be sent. By default, there is the current date. If you want to schedule the sending of SMS, then you need to enter the desired date of sending. For example, “09/30/2023”.
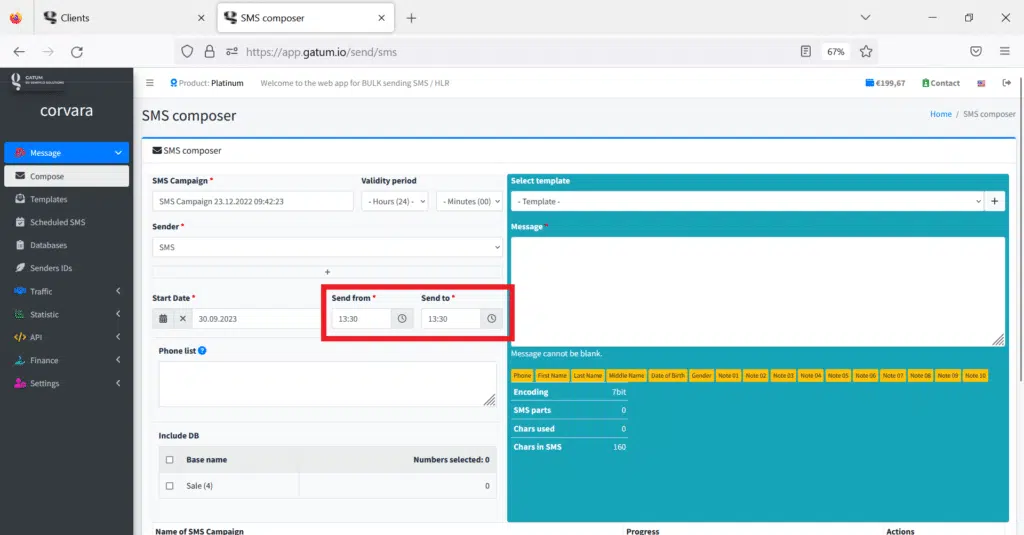
Send from and Send to fields – fix the time for sending SMS. By default, both fields are set to the current time. If you want to schedule an SMS to be sent at a specific time, then you need to set this time in both fields. For example, “13:30”.
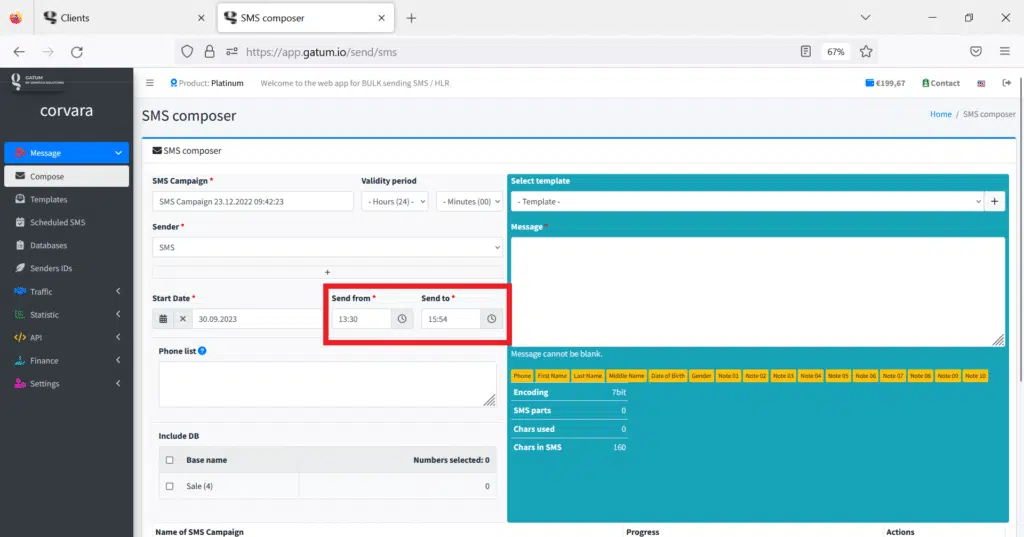
If you want to schedule an SMS to be sent at a certain interval, then in the Send from field you need to set the start of sending, and in the Send to field, set the end of SMS sending. When sending SMS, be evenly distributed in this interval. For example, “13:30” and “15:54” respectively.
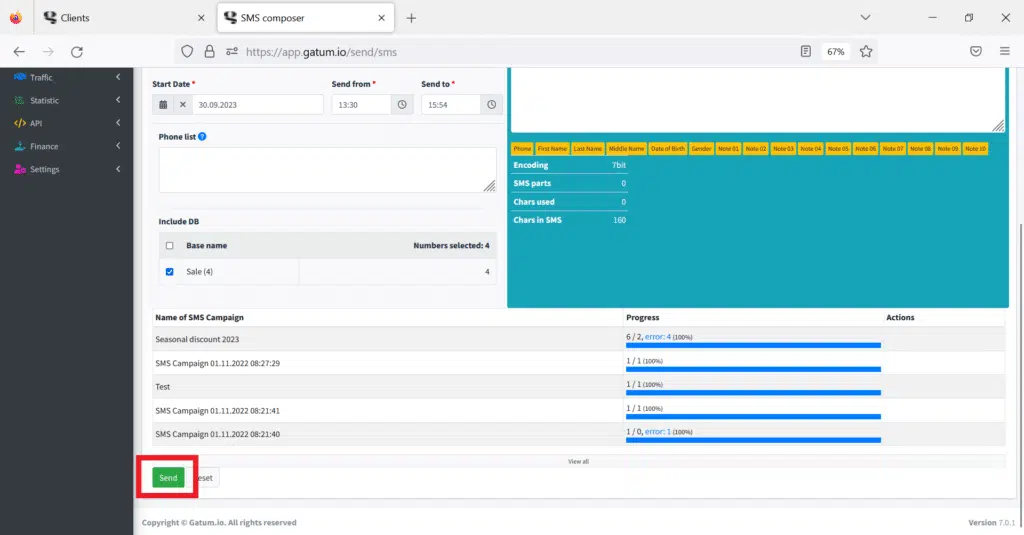
3. Click on the green Send button, confirm the SMS campaign and the SMS will be sent to the SMS scheduler tab, where it will wait for its sending.
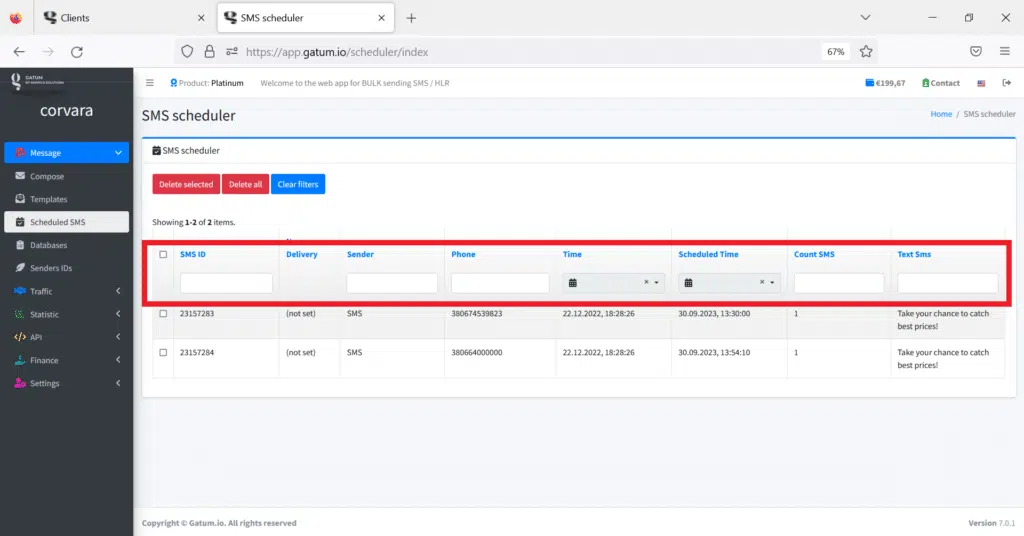
Go to Message -> Scheduled SMS tab. By filtering at the top of the list, you can find the SMS you need among the scheduled ones.
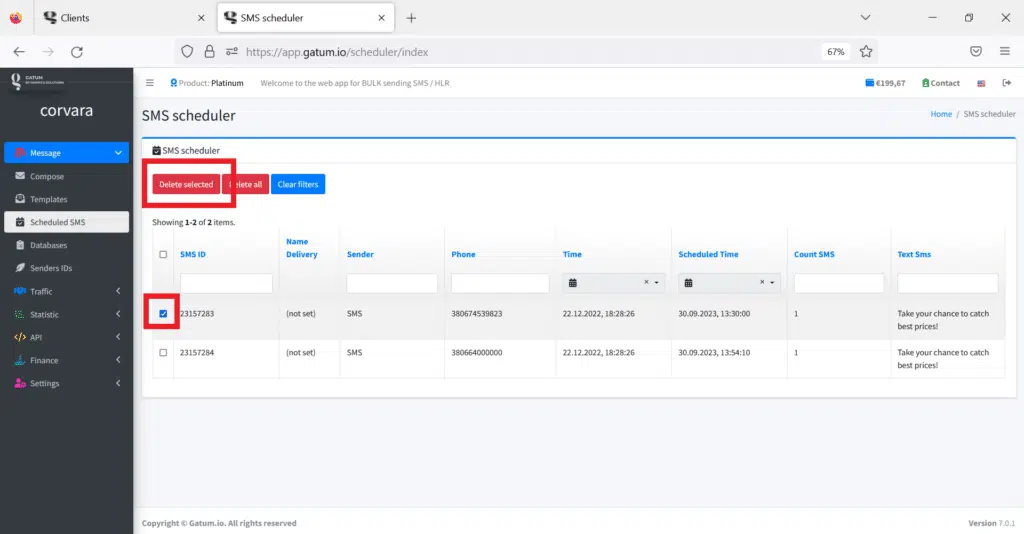
To cancel sending SMS, you will need to select SMS using a checkmark and click on the red Delete selected button.
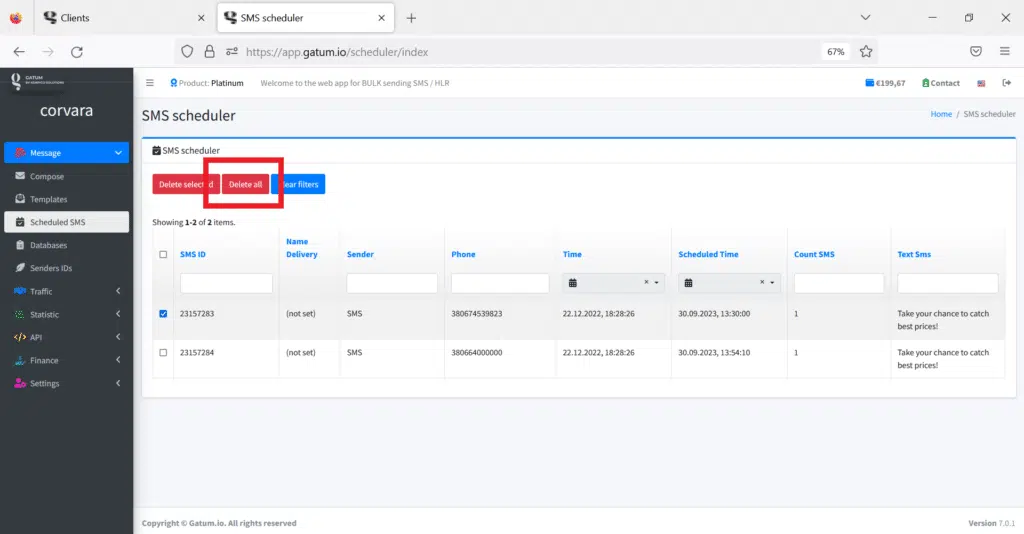
To cancel sending all scheduled SMS, click on the red Delete all button.
It’s so easy to plan sending SMS from the client’s web panel.
