GATUM is a full-fledged platform that can connect to providers using the SMPP protocol version 3.4., And can also accept connections from clients using the same SMPP protocol version 3.4. Also, our platform supports any kind of connection (Transceiver, transmitter or receiver), both for outgoing and incoming connections.
In order for the client to be able to send SMS via this protocol, he needs your help:
- Go to the client profile via the Profiles -> Clients page.
- Go to the client’s profile by clicking on his name.
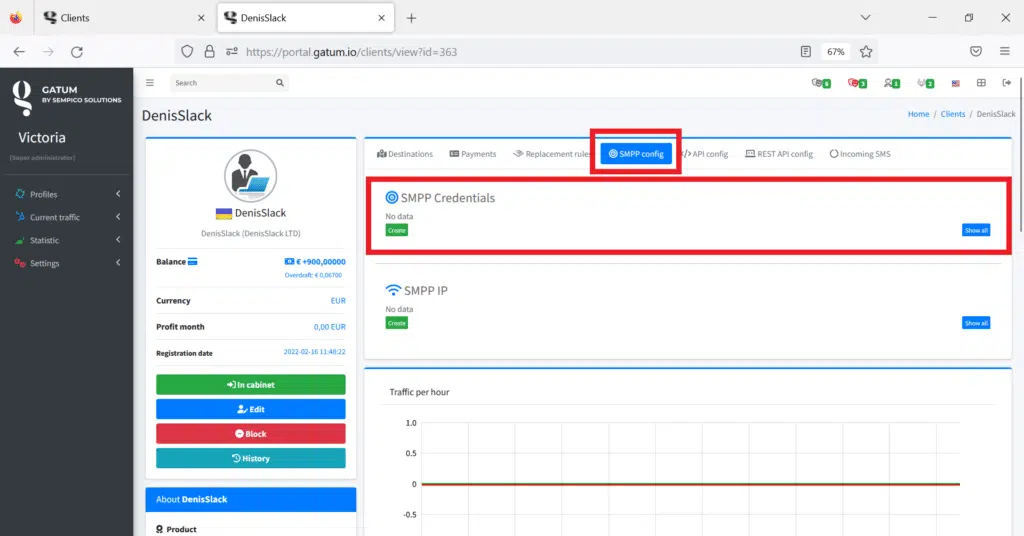
- In the SMPP config section, in the SMPP Credentials block, click on the green Create button in order to create a special SMPP account for the client. Here you create an account from which your client will connect to the platform to send SMS via SMPP protocol. If the client will be logging in from multiple platforms, create an appropriate number of accounts for him.
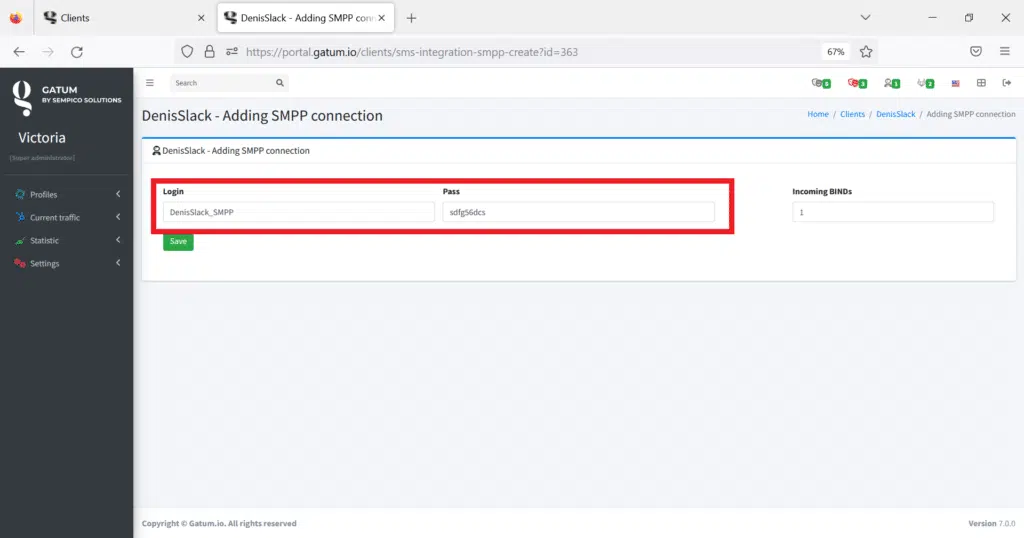
4. In the Login field, enter the login with which the client will log in.
5. In the Password field, enter the password with which the client will log in.
IMPORTANT! It is recommended to create a login no longer than 8 characters and a password of exactly 8 characters. There is no fundamental difference, but it was created for the convenience and safety of use.
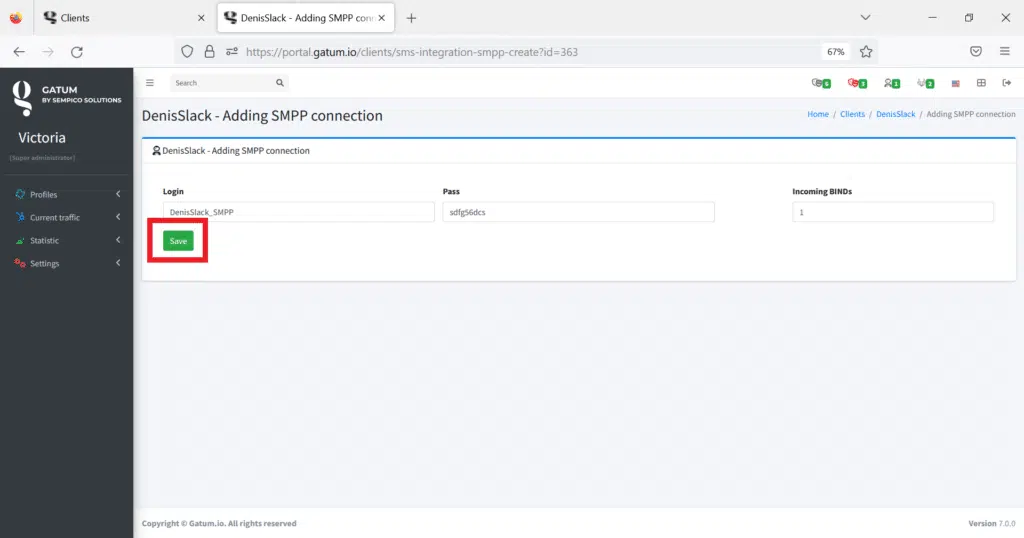
6. Click on the green Save button.
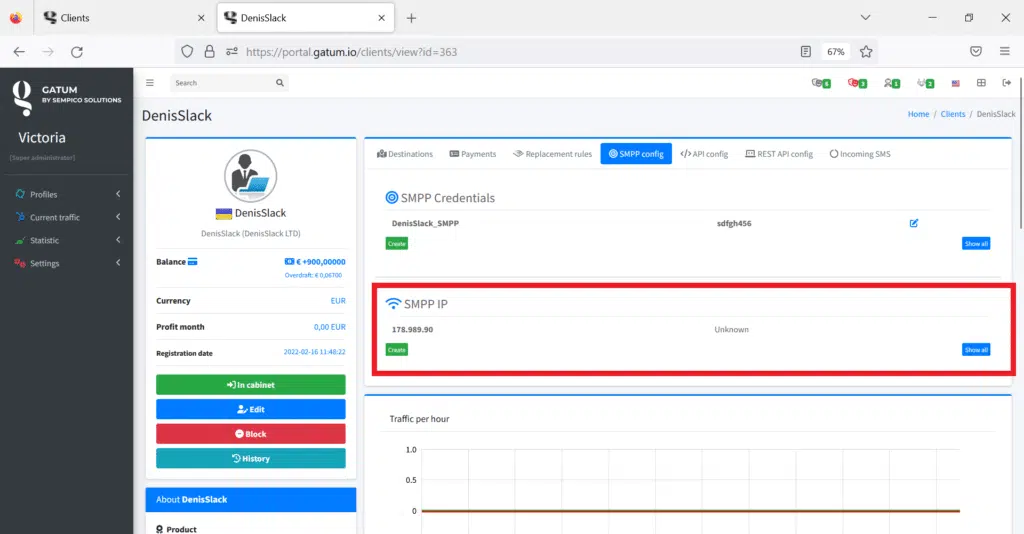
If the client has several servers from which he will send traffic using this protocol, then create an appropriate number of accounts for him and add the corresponding number of IP addresses in the SMPP IP block. This is done so that delivery reports are not lost (it is possible that if a client connects from different servers using the same login, then SMS may come from one server, and the Delivery Report will go to another server – after all, the login the same). Therefore, it is recommended to control this moment.
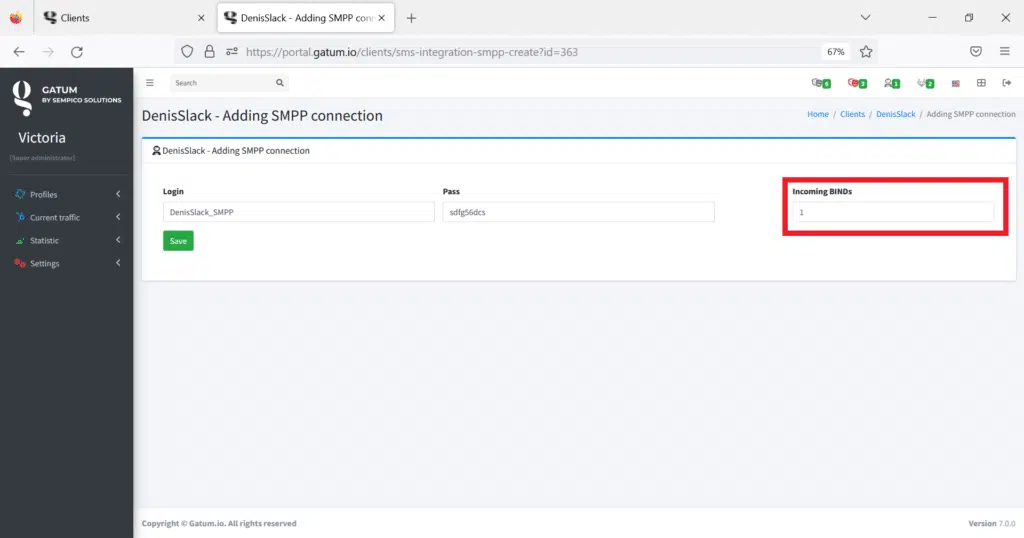
In addition to creating SMPP accounts, there is a setting in the client’s profile to control the number of copies of incoming connections with the same login.
For this you need:
- Go to the page for creating an SMPP connection for your client.
- Enter the desired number of sessions in the Incoming BINDs field.
3. Press on the green Save button.
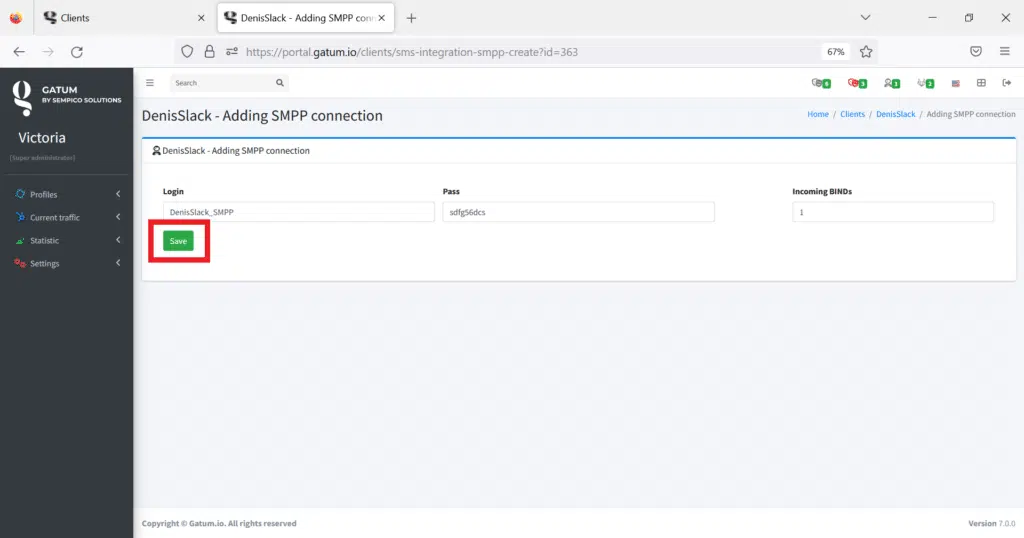
IMPORTANT! Our developers do not recommend you to use multisession, because our platform can work quickly and efficiently using even one session. But in real life, situations are different, so you can control it yourself.
This is how easy it is to create an SMPP account for a client. After you successfully connect the client, it will appear in the list in the upper right corner in the person icon.
When SMS starts to arrive via the SMPP protocol, the client can simultaneously send SMS from the Web Panel, via API or REST API.
